Your address will show here +12 34 56 78
Drylands Management, Sustainable Living

By Drylands assistant Margaux

With Spring in full bloom in the valley, the Drylands and Sustainable Living departments have been out walking with volunteers to collect the capers that are starting to grow and preserving them in preparation for summer salads. Have you ever picked capers? The pickled capers we use as seasoning are actually the buds of the plant called “Capparis spinosa”. They need to be picked before they turn into these lovely white flowers. It is preferable to pick the smaller buds which have more flavour.

It’s important to follow some basic guidance if you are planning to pick plants in the wild. First of all, make sure that you are not in a preserved zone.  There must be, at least, 5 plants of the same species in the area you are planning to pick. Then, do not collect more than 20-30% of the plant’s fruits or flowers, so it is still able to reproduce. Another last tip, try not to pick close to roads; you shouldn’t be closer than 50 meters from the nearest road.

“Its huge pink-and-white flowers  bristling with stamens and anthers, and its tough thorny leaves were nourished by roots that burrowed for moisture more than a hundred feet into the parched earth.” – South from Granada, Gerard Brenan

Preserving capers is simple –  to start off with you need just a water and salt mixture to soak them. This water needs to be changed every three or four days, four times. One the soaking process is done, you can preserve the capers in vinegar, and with any other herbs you like. Besides being a tasty addition to salads (or as a pizza topping at our famous pizza parties!) capers are known to be powerful anti-oxidants and to help in circulation of blood – so a perfect complement to our healthy sustainable diet here at Sunseed.

DSCN4582
0

Sustainable Living, Tutorial

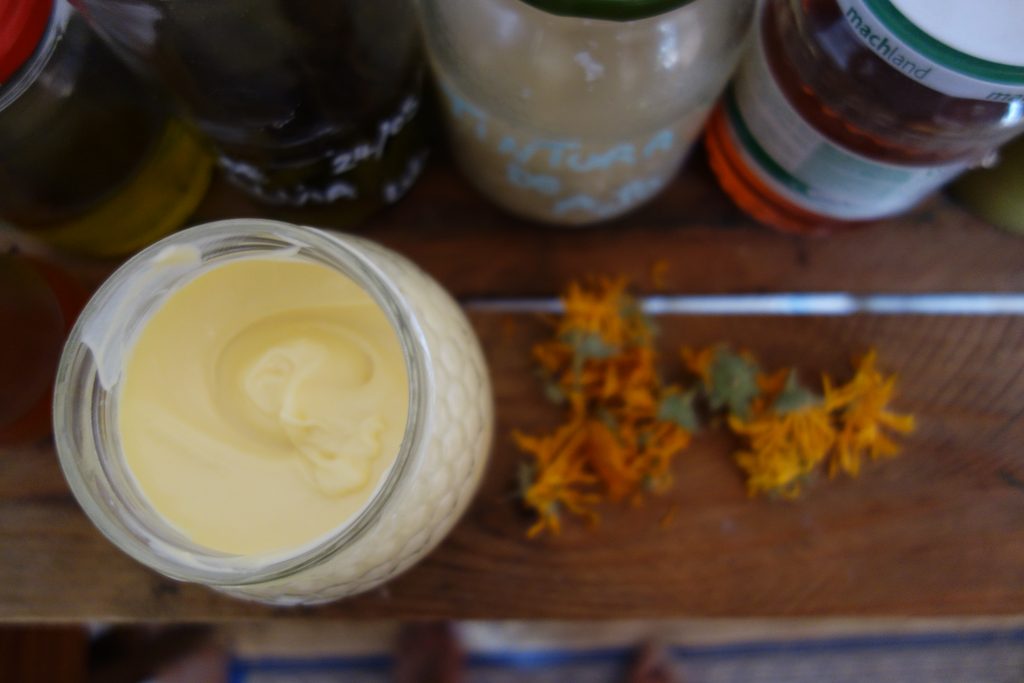
Part of our mission to live sustainably involves working with the natural abundance that’s at our fingertips to create products that are better for us and our environment. Our Sustainable Living department has been using the beautiful calendula in the Sunseed gardens to make a soothing and hydrating natural moisturiser – and you can make your own with just a few products following the steps below.

Jar of natural moisturiser with calendula flowers

Natural Cosmetics – Hydrating Cream (Calendula Base)

To make a cream, you need three main constituents, Oil, Water and an Emulsifier. Once you combine these three in the right quantities and conditions, they form a soft, velvety and hydrating cream.

You can change the thickness and moisture levels of the cream by altering the ratio of oil to water (thicker creams, like a balm, will have much higher emulsifier levels, especially if using beeswax.)

So prepare your ingredients for 100g of cream:

Oil Part (24g in total)

(12g) Almond Oil infused* (see below) with Calendula

(8g) Olive Oil (mild quality, not too strong)

(4g) Emulsifier (i.e Local beeswax or any store bought veg protein, i.e Lanette or Emulsifan)

Water Part (76g in total)

Distilled (or non-chlorinated) water. You can make this a herbal infusion to strengthen the cream, for example with a handful of rose petals, calendula, chamomile, rosemary etc. Be wary that if you add plants to the water part, it will not preserve anywhere near as long.

Preservative Part = Vitamin E (in oil form) or Vitamin C (dehydrated powdered form). If using Beeswax, this acts as a preservative, as it is a natural anti-fungicide.

Essential Oils: (5-10 drops) Any that you feel suit your cream, medicinal purpose, or personal taste. I often use Lavender, given its clean, fresh aroma and anti-bacterial properties.

Natural moisturiser with calendula

Method:

  • Make an infusion for the water part, leave for 4-12 hours to combine. Preferably water is around 60C-80C, not boiling.
  • Mix together all the ingredients for the oil part in a non-metallic bowl (almond, olive oil and emulsifier).
  • In separate pans, heat both the oil and water parts to 60C-65C, once they reach this temperature immediately remove from the heat. (NOTE: I often find using a water-bath technique to slowly heat the mixtures a safer approach).
  • Now they have been removed from the heat, use a blender to whisk the water part. While its whisking, slowly add the heated oil mixture into the water mix.
  • Once evenly mixed, it will form a runny creamy consistency – allow it cool slightly, and then add in your essential oils and Vitamin E/C.
  • While still hot, pour the mixture into your cleaned/sterilised jars (when warm is it much easier to pour).
  • The cream is ready to use once cool and set, which means it will have thickened.
Making natural moisturisers in our herbarium

*Personally, I like to infuse the oils I use with a particular plant, so in this case I chose Calendula for its emollient (skin softening) properties and that it helps sooth burns and mild abrasions/cuts.

*To infuse the oil with a plant, put a handful of the dried herb into a glass jar, fill to the rim with oil and leave for 30-40 days in the sun, turning/softly shake each day. Or for a quicker, but less effective approach, heat the plant (dried or fresh, just use double the amount if fresh) in a saucepan with the chosen oil, bringing it to around 60-65C. Once reached, take of the stove and leave the saucepan covered overnight to infuse. The oil is ready to use the next day (once you’ve filtered the piece of plant out).

Enjoy!

Feel free to get in touch for more information or clarification. To buy the more technical ingredients i.e Lanette, Vitamin E or C and Essential Oils;  I use this website: http://www.cremas-caseras.es/ as we are based in Spain; however there are a number of ecological organisations around to source this from over Europe.

Luke – sustainable.living@sunseed.org.uk

Want to learn more about how to create natural cosmetics? Join us as a volunteer in the Sustainable Living department!

2

Organic Gardening, Tutorial
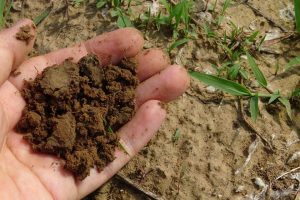
soil-918006_960_720

At Sunseed I realized how many resources are wasted everyday when you just throw your kitchen waste away.

When I came here, I did not know anything about compost or how you can fertilize the soil you want to use for planting.

I was very impressed by the ‘compost lasagne’ system we have in Sunseed. It makes our gardens much more sustainable, because we have everything we need for the process. In addition, we can control what we put in our soil and incidentally it saves us money because we do not have to buy manure.

josu

The concept we have is very easy:
The lasagne consists of several boxes. In each is compost in different stages.

We take care of our compost every Wednesday. First we turn the old layers around with pitchforks, so that the compost gets enough oxygen. Than we put a thin layer of paper and cardboard above. Afterwards we add our kitchen waste, put a small amount of earth on the top and water it. All these layers are important to get the right balance of nutrition in our compost. To keep the humidity even when it is very hot, we cover everything with dried material which works perfectly.

At Sunseed we need a lot of manure and therefore we need a fast decomposition process. When you want to try to produce your own compost at home, you just need to move your deposited kitchen waste sometimes and after about a year you have perfect compost. You cannot do anything wrong with the process, it might just take more time.

Our Garden Coordinator Josu explained how you can find out if the compost is ready. You can use it when it holds in shape after you have squeezed it but crumbles again when you move it in your hands.

I love to see how the circle closes, while parts of our food which cannot be used in the kitchen turn back into very fertile soil again.

almonds

Learn more

During my research I found an amazing project in Jordan describing their way of composting.

If you want to prepare compost in a small garden, you can have a look at this website.

And if you live in a flat without garden, you don’t have to go without compost. Ways for composting inside are shown here and here.

Happy composting!

0

Sustainable Living

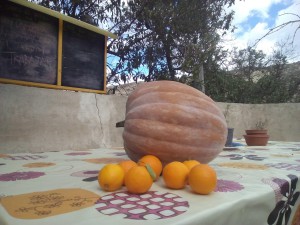
We have so many oranges in our gardens that we can hardly eat them all before they fall down. We tried to find different ways to preserve them. One very nice and quite easy recipe from our Sustainable Living coordinator Luke was to cook them together with pumpkin to get a delicious jam.
After we picked a lot of oranges and got a pumpkin from one of our neighbours, we started cooking.

This is how we made it:

  1. Cut the pumpkin in small pieces, boil for 5 minutes with a very small quantity of sugar.
  2. Strain the pumkin and weigh the quantity. For each kilo of well drained pumpkin, put the juice of 3 oranges and the juice of ½ a lemon.
  3. Use a blender to mix the ingredients until you reach a puree, than you add about 1 kilo of sugar.
  4. Boil the mixture for 15 – 20 minutes, stirring continuously.
  5. Once boiled, let the mixture slightly cool and than pour into steralized jars.
  6. Turn the jars upside down to create a vacuum, let them totally cool down and store them at a cool place.

Afterwards we had a lot of orange and lemon peels left which we didn’t want to throw away. So we decided to make some nice sirup out of it.

If you want to try it yourself, here’s how we did it:

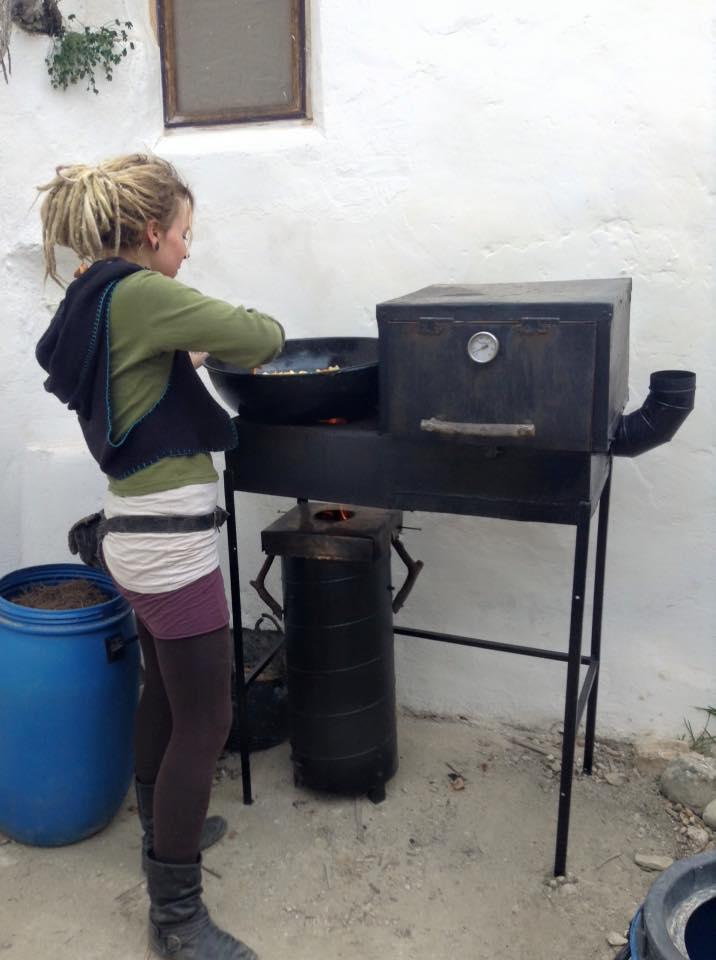
  1. We put the peels in a big Wok.
  2. Filled it up with water
  3. Added about 1 kg of Sugar
  4. Let it boil for about 45 minutes on the gasifire, which gets very hot (here is how to make a gasifire, also known as biomass gasification cooker: https://www.sunseed.org.uk/blogs/2013/10/31/biomass-gasification-cookstove/)
  5. Let it cool down, fill into jars, turned them upside down and let them totally cool.
1