Drylands Management, Organic Gardening, Sunseed News, Volunteer Stories
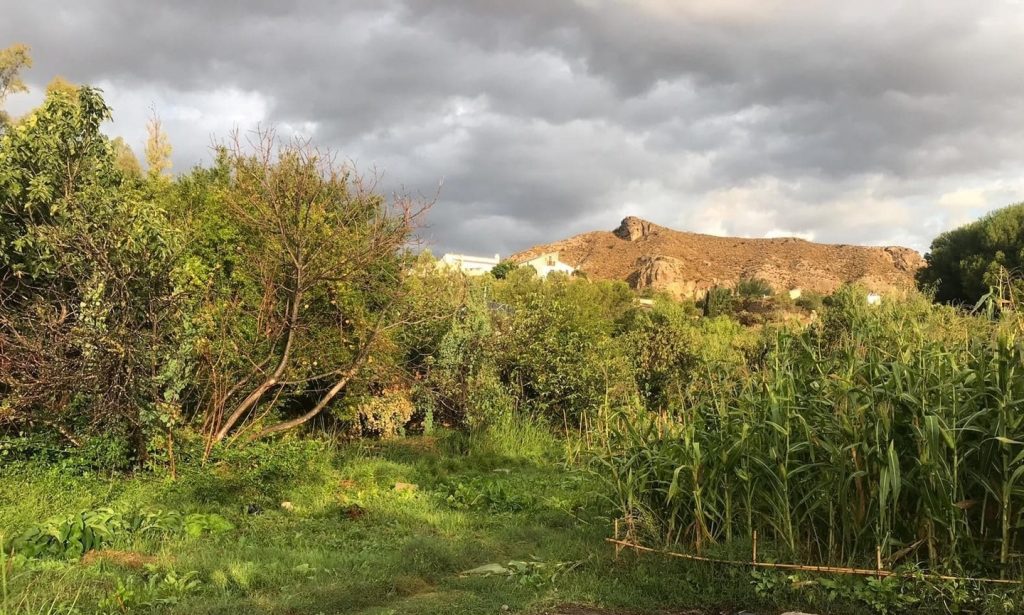
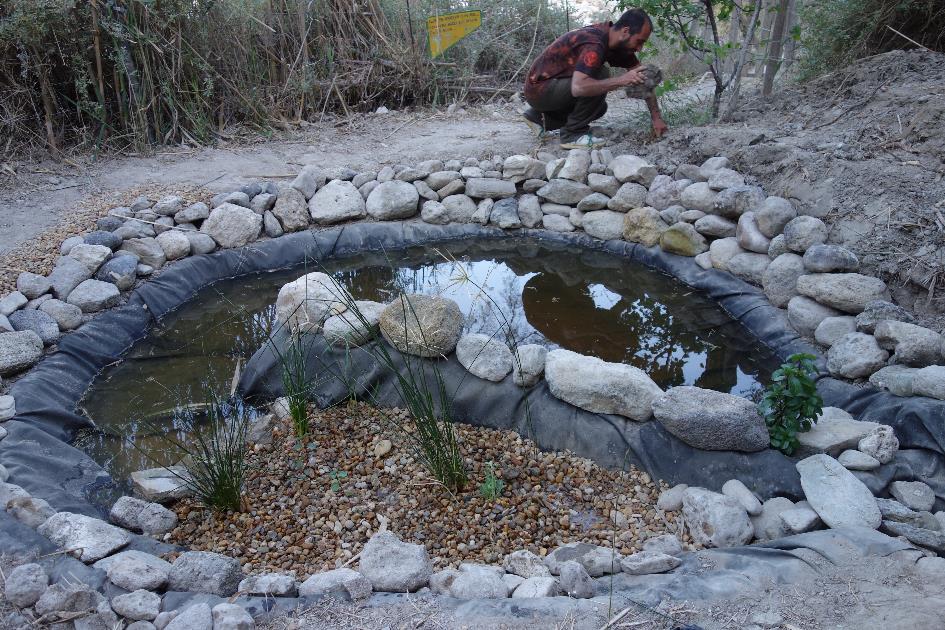
The first rains of the season have been and gone… and they have left their mark on the land here. Our beautiful poza looks different from last week, because the water swept through the valley, knocking caña aside and carrying with it the dust and soil from the surrounding hills. The hills themselves look so much cleaner, the plants have definable and separate colours, rather than all being coated in the fine dust, early mornings are sweet with soft dew, and even the air feels fresher.
***
We knew the rains were coming days before they arrived, though the amount of precipitation was often in question: We were told to expect 40mm to fall on Thursday, three hours later that had gone up to 100mm and 200mm on Friday but over the next day the prediction dropped to 40mm over 4 days, only to shoot back up to 100mm in 3 hours. The weather warnings for the area were Violet. So, understandably, we doubted the truth of the forecast once or twice. How could so much rain be coming when we were enjoying such glorious sunshine? Still, precautions were taken and we spent a morning preparing Sunseed for the likelihood of a heavy rain. Gabriel, our organic gardens coordinator led a team in sand bag collecting. They lugged the heavy bags from the gardens to the main street of the village where they built banks to protect the road from the floods of water. Tanks were positioned to collect the rain, so that we could make the most of the precious water, and where necessary buckets were placed to catch the leaks in the roofs.
The next day we watched as the rain clouds gathered at the edges of the valley, laden with their blessing of much needed water they drew nearer and nearer. Most people had found inside jobs to do during the day to avoid getting wet, and we sat around the house, trying to use as little electricity as possible. The clouds meant that the solar system wasn’t working at full capacity and once it dropped down to 90% we could not charge any devices, despite this the atmosphere around the main house was one of excitement.
And then the rains came. They hammered, heavy and hard into the dry earth, the first few drops sending little flurries of dust into the air, until everything was soaked. It was only minutes before the main street of the village had become a river, flowing over our bare feet where we stood soaking in the water, just like the plants.
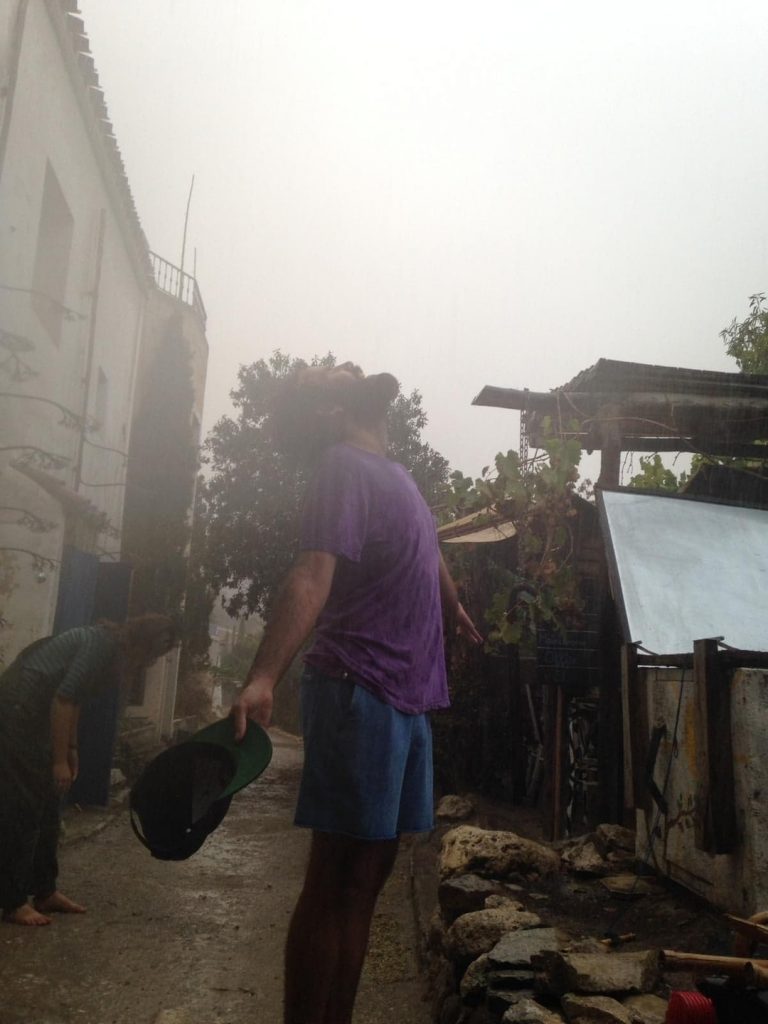
In the evening the storm picked up. Lightning flashed across the sky, illuminating towering cloud formations and thunder rolled through our valley. We stood huddled in the doorway of one of the buildings, watching the water run down the main street. We laughted as we tried to avoid the rain, splashing through the streams and puddles and even pausing to dance under the torrent. That night, warm and dry once more, the rain beat a comforting rhythm against the roofs and, after a summer of heat, blankets were pulled from cupboards and onto beds.
On Friday in the pouring rain Gabriel, Tom, and our neighbour Dave Dene fixed the floodgates of the acequia with yeso, which sets underwater. So now all that we needed to do was clear the new mud from the acequia. Luckily, Saturday was the communal acequia maintenance day and we were joined by our neighbours to clear the acequia. We were up to our knees in the water channels scooping mud into buckets with our hands. Squeezing between caña and under hanging brambles we cleared the areas of the acequia that were worst affected by the rain and the silt that it had carried with it.
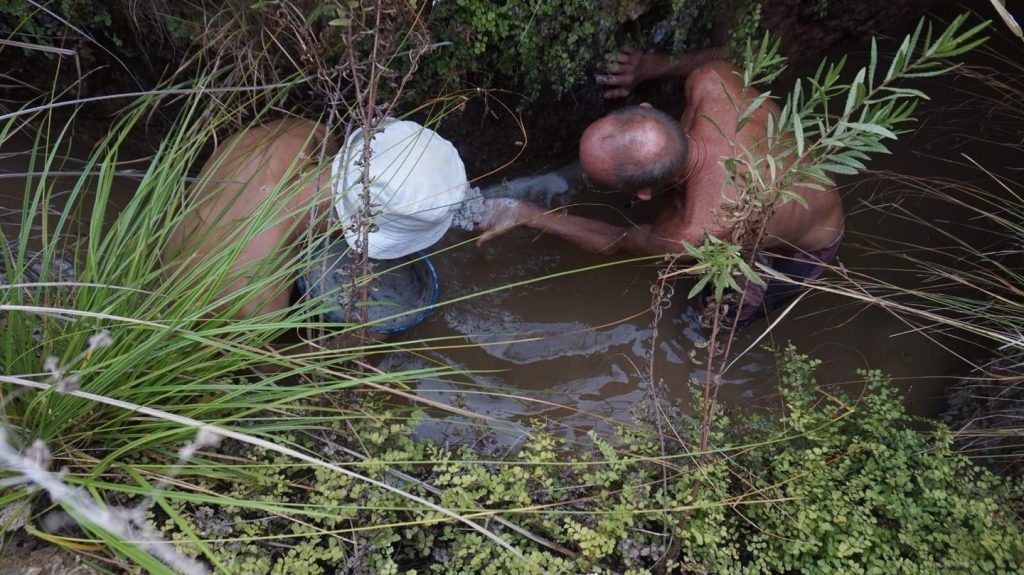
Once finished we trouped, muddy and tired, back to Sunseed’s main building. But, because the acequia wasn’t running yet, the village ram pump wasn’t working, and we had very limited water for washing. Using water collected from the rains we washed the mud from hands and faces and then settled in to enjoy our Saturday.
Later on, when the river was once again crossable, our drylands team went to find out what the rains had done to all of the hard work that has been poured into the area. We all wanted to know whether the walls had held or if the force of the water had knocked them away. To our delight, when the team came back, they had photos of the walls not only standing strong and proud, but having worked fantastically to slow and even stop the water. Areas of the drylands were all puddles and mud from the soil and water which had been stopped before it could flow away. It was cause for celebration and the main house was filled with our smiles of joy and relief.
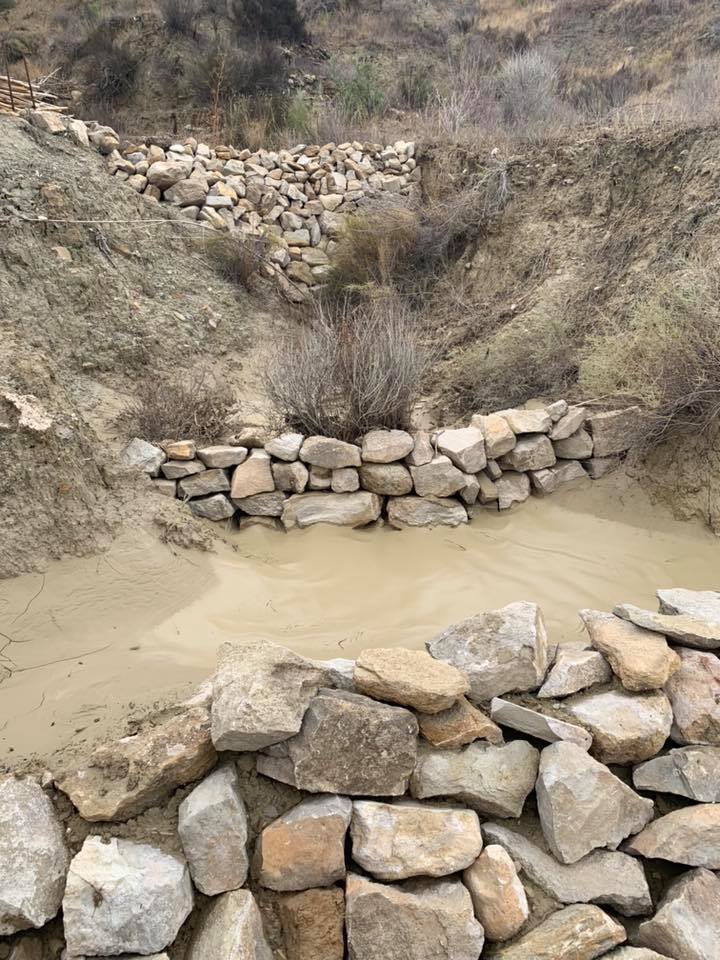
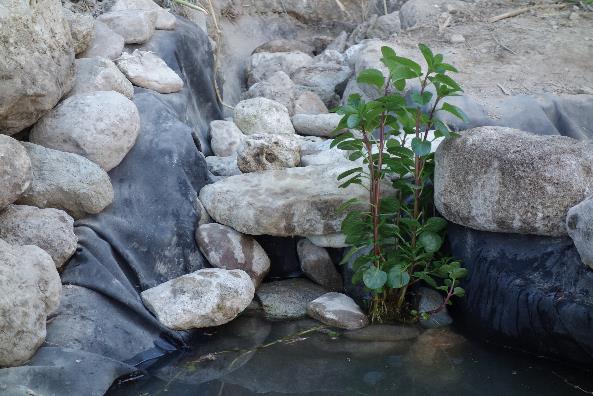
Well made walls 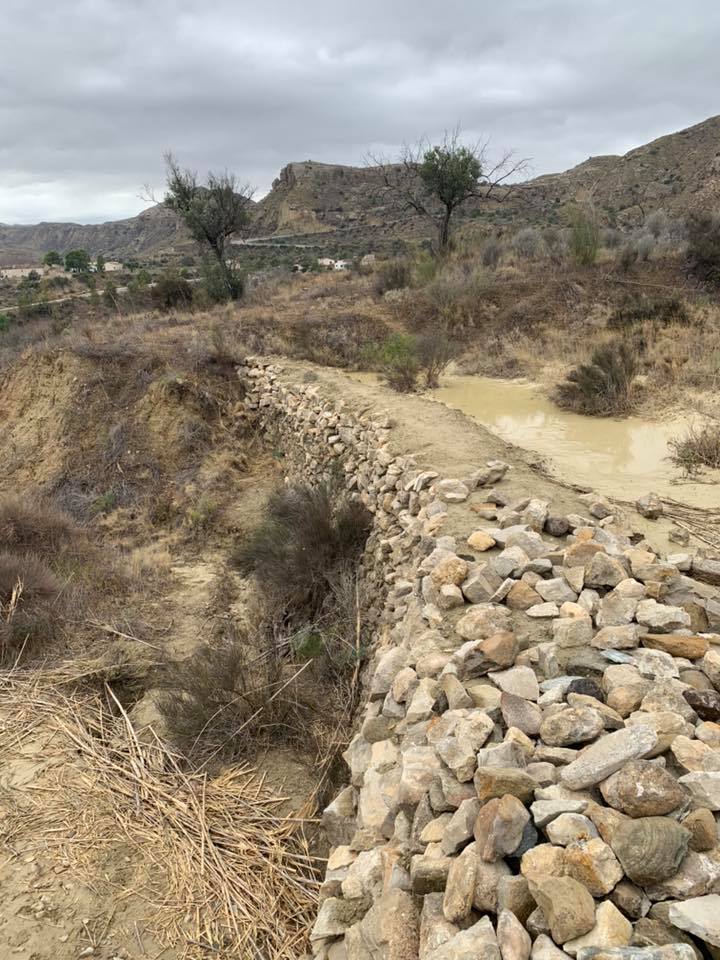
Holding the water 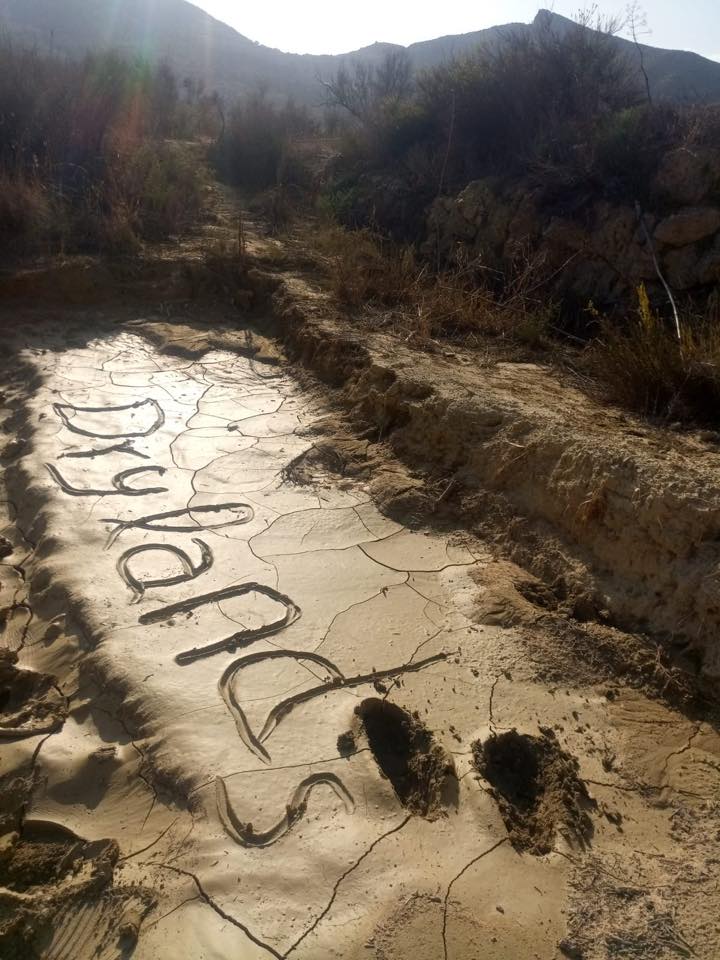
Dryland love
***
The heavy rains have gone now, but the season is turning from summer gently into autumn. Since the storm we have had small showers of rain, the ground is still damp enough that we haven’t had to water the gardens for the last few days, giving us an unexpected luxury of time. But it’s not only the weather that is different, the landscape has changed. The poza is now far more open and elongated, as most of the caña were swept away or flattened, it gives us a view further down the river that is more open. Sweetcorn that we have been nurturing and growing through summer was knocked down by the power of the storm. The ram pump is not yet up and running, but our wonderful maintenance team are working hard to get it operating. By now the turtles have returned to Rio Aguas and the silt is settling out of the river. The trees, plants and people are all refreshed and rejuvenated by the downpour.